Setting up the Default Lease
 The screenshots below may differ from your Click & Lease program depending on what state you are located in.
Before beginning to create lease records, most users will want to set up a default lease, which can be used as a model to complete actual lease contracts. Setting up your default lease allows you to automatically fill in much of the lease including late fees, charges, reletting charges, etc.
Follow these steps to setup your default lease:
-
Once logged in, make sure your property is selected in the Select Property drop-down box. If you have more than one property linked to your Click & Lease license, you will need to create a default lease for each property.
 Select Property
-
Click the Lease Records tab. Then click on Setup Default Lease.
-
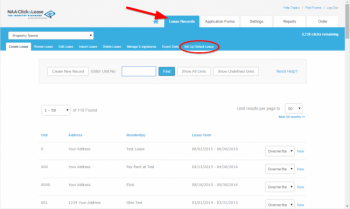 Lease Records: Setup Default Lease
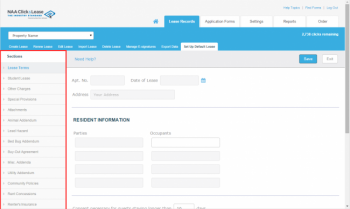
The sections listed on the left side of the screen correspond to the various sections of the lease contract, including Lease Terms, Special Provisions, Lease Guaranty, etc.
 Sections of the Lease
Some fields are disabled because the information contained in these fields will typically be different for each lease. For example, you cannot enter any resident information on the default lease since this information would change for each resident.
-
Click on each section of the lease and fill in each field with the appropriate information according to your property's normal operating procedures.
-
As you complete each section, click the Save button in the upper right corner of the screen. If you click the Exit button you will be prompted to save before exiting.